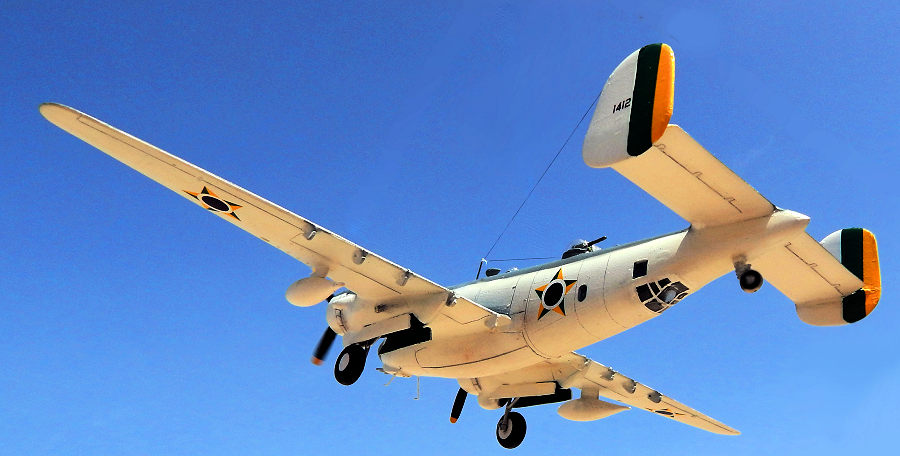
| KIT #: | |
| PRICE: | £9.00 |
| DECALS: | |
| REVIEWER: | Carmel J. Attard |
| NOTES: | Vacuform with injected parts |

| HISTORY |
 The Harpoon was a development of the Ventura, a Lockheed design that was
a follow-up of the Hudson that succeeded from model 14. The Harpoon resulted
into a much greater capacity and better performance. The redesigned tail unit
resulted in improved handling especially in single-engined flight. The bulkier
design resulted in reduced speed by 20mph but on the positive side it was a
longer range patrol bomber, with an increase over a ton payload and its range
increased to 1,200 miles.
During the war the Harpoon was well established in service in the Pacific particularly in patrol missions and offensive actions. Besides serving with the US Navy, there were other foreign operators which included France, Brazil, Peru, Portugal, Netherland, South Africa, Italy and Japan and continued serving into the late 40s. When the Neptune came about the P2V Harpoons units hanged to reserve wings. Others went into civilian service and could still be spotted in airfields in Arizona.
In scale model form the Harpoon was first issued by Rareplanes as a vac form kit and more recent years by Special Hobby in injected form.
| THE KIT |
The Rareplanes kit is to the usual high standard with accurate moulding, good raised panel line detail and the kit comes complete with injection moulded propeller blades, tail wheel and main wheel legs. These come with well detailed instructions, 4-view drawing and an exploded view of the kit parts.
| CONSTRUCTION |
Construction starts with separating the parts that were marked with a
pencil at the periphery, and scoring them with a sharp pointed knife before
snapping them from the backing styrene sheet. This was followed by sanding each
part on different abrasive sheets to remove excess plastic, checking frequently
with scale plan drawings, normally down to the
 pencil markings at the edge of
each part. The kit plastic is soft and one takes care to preserve the correct
outline shape.
Fuselage halves are dry fitted followed by cutting away areas at top turret, ventral gun position, cockpit area and astrodome, making frequent check with kit clear parts in order to ensure that areas cut away matched transparencies attachment areas. Careful checking these areas ensure that assembly goes smooth. Careful cutting of kit transparencies also contribute to accurate fitting of these parts on their respective location.
Slots were opened on fuselage sides to take wing-spar parts using a
drill and pointed modelling blade. These spars when fitted give the correct wing
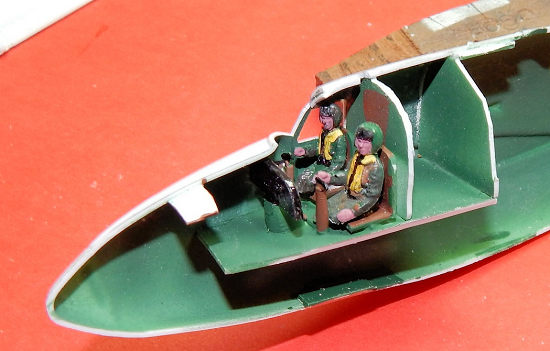
dihedral when wings are slotted in. Rareplanes also provide cockpit floor,
bulkhead and instrument panel and central console. The entire interior was
painted cockpit grey green with seats painted dark brown and seat straps added
from cut strips of masking tape. Two crew figures were also added to two front
seats. Control column and throttle detail were shaped from stretch sprue and
added to cockpit interior. Short strips were cut from plastic and added to
fuselage halves to act as locating stabs. These will add strength and ensure
correct alignment when fuselage halves are glued together. Fuselage was closed
and held together with masking tape until dry. A little amount of filler was
then added at seam followed by smooth sanding to blend parts. Wing spar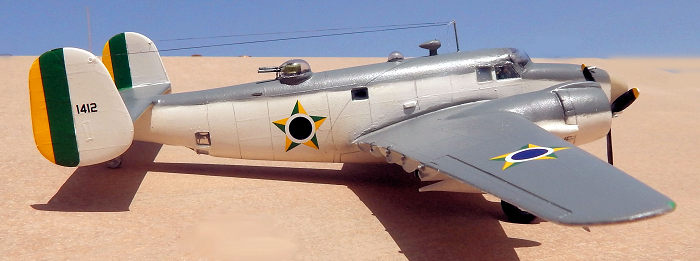 was
passed through slots and the wing halves were later fitted to fuselage via
slots.
Tail fins, tail plane parts were prepared cut and sanded. These were added to the rear stagger opening recess. Turning to the wings, engine and nacelles , the detailed vac engines were also prepared and glued, so that the nacelles and cowling were brought and fixed to the wings. The engine fronts were cut round on the outside and were each inserted from rear of nacelles and pushed forward to their correct spot, glue added. These could be easily panted from front at a later stage. Finally air scoops and cooler intakes were opened by drilling with a small drill and shaped with a needle file. Wings were slotted to fuselage, blended with filler at the root and wing tanks added. Transparencies were added one by one and masked. Model was given a light grey coat and any blemishes that showed were attended to. Nose guns were made from hollow hypodermic needles that were cut to right length.
| CONCLUSIONS |
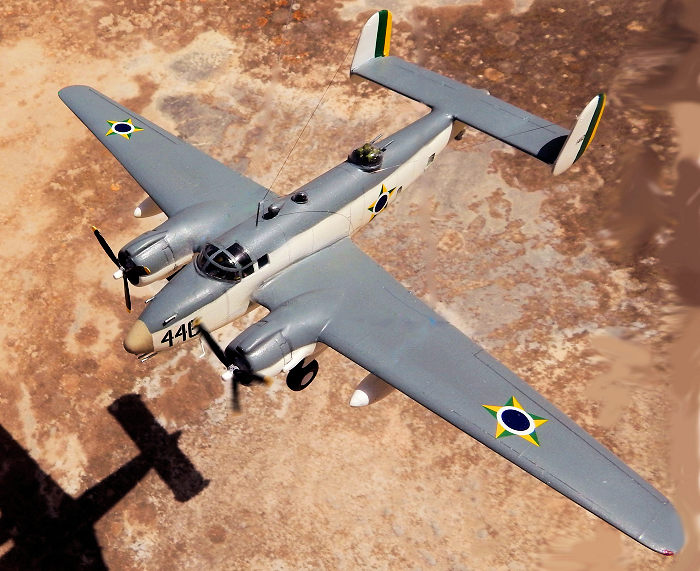 The Rareplanes kit was built at a time when the Special Hobby Harpoon
kit also came about. In fact I have made use of the SH decal sheet to complete
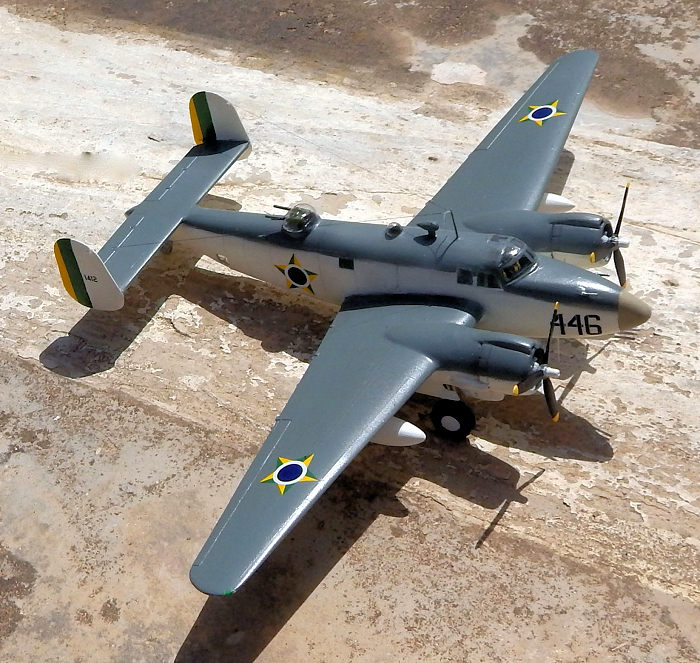
the Rareplanes vac kit in Brazilian AF markings. This version had dark gull grey
top and white undersides. The propeller blades were painted black with yellow
tips. All in all modelling the vac kit went smooth though this was more time
consuming than building the Special Hobby kit. Both kits now make a nice pair
from post war era.
15 July 2019
Copyright ModelingMadness.com.
If you would like your product reviewed fairly and fairly quickly, please contact the editor or see other details in the Note to Contributors.
Back to the Main Page Back to the Review Index Page Back to the Previews Index Page