Hobby Boss 1/72 Yak-3
| KIT #: | 80255 |
| PRICE: | $9.99 SRP |
| DECALS: | Two options |
| REVIEWER: | Brian Baker |
| NOTES: | Basic, quick assemby kit |

| HISTORY |
 The Yakovlev series of fighters were the mainstay
of the Soviet VVS during World War II, and were produced in a number of
versions. The Yak-1 and Yak 7 were general purpose fighters, powered by a
1,100 hp. Klimov twelve cylinder liquid cooled engine. The Yak-9 was a
development of this series, with improved airframe and armament, and was an
excellent low altitude fighter. Developed in parallel with the Yak-9, the
Yak-3 was intended for low altitude combat and ground attack. The Yak-3 had
a shorter wingspan, and minor differences, including a slightly more
powerful engine. Yak-3’s were used by the Soviet Air Force throughout the
latter stages of the war, and a more powerful variant was developed in 1944,
but this was too late to see action in the war. Many served after the war
until being replaced by jet fighters.
| THE KIT |
 in alignment with
the proper wing dihedral. In addition, once the kit is assembled, it is
virtually indestructible, another plus for young, inexperienced modelers.
The Hobby Boss kit comes with a small but adequate instruction sheet. Consisting of a sheet of 8 ½ by 11” paper, this is folded over to include four color pages. Page 1 is a title sheet, page 2 had a useful sprue diagram and a fuselage assembly drawing, page 3 has final assembly drawings, along with detailed information on the propeller and landing gear, and the back page shows a pair of four view drawings illustrating the color schemes of the two aircraft for which decals are provided. One area missing in the instruction sheet is the interior color information.
There is plenty of information available on these aircraft, Squadron’s In-Action series is very good. There are numerous reference books on World War II fighters, and probably some after-market decals with more information.
This is a kit designed for beginning modelers, and can be completed in just a few hours. Actually, glue is not absolutely required, but I used it for my model.
| CONSTRUCTION |
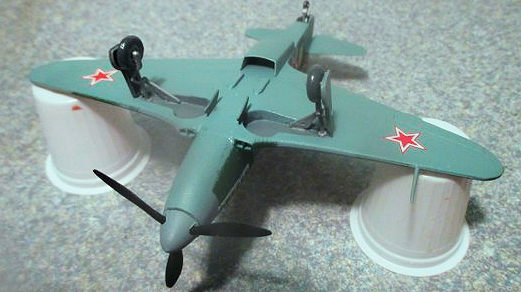
 The kit goes together with no problems. The
fuselage, after installing the cockpit floor, seat, and stick, can be glue
directly onto the wing assembly. After the horizontal control surfaces are
attached, the nose section can be installed, along with the propeller. I
would suggest major painting at this stage. After major painting, the
landing gear can be installed, and the cockpit canopy can be snapped into
place. Final assembly should be completed in just a few minutes, and before
long, you’ll have a very nice little model of a Russian fighter.
| COLORS & MARKINGS |
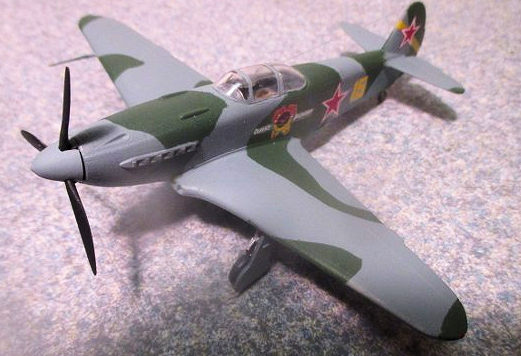
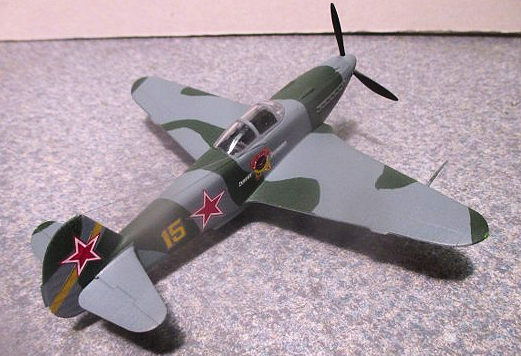
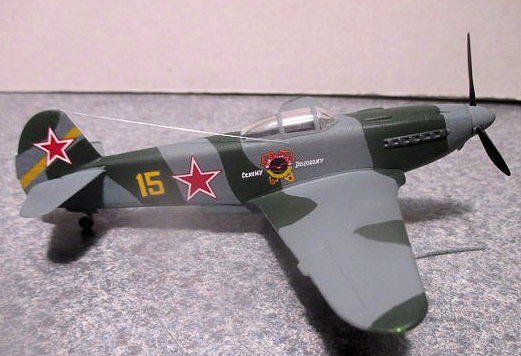
Both aircraft, according to the instructions, are to be painted a pattern of light grey and medium green over light blue undersides. The decals are colorful on both aircraft, and these go on easily. I attached the canopy and masked it off, making painting much easier.
| CONCLUSIONS |
28 May 2020
Back to the Main Page Back to the Previews Index Page
Back to the Previews Index Page