| KIT #: | AT0001 |
| PRICE: |
3 for £3.98 bargain bin = £1.33 each |
| DECALS: | no options |
| REVIEWER: | Jeff Simpson |
| NOTES: | Pretty much a 'snap-together' kit. |

| BACKGROUND |
 Doyusha
1/100 scale aircraft kits – I don’t know much about them, I assume they were
once sold as “normal” kits. In this incarnation, marketed by Airfix, the parts
are pre-painted and decalled on the sprues. There are three different kits sold
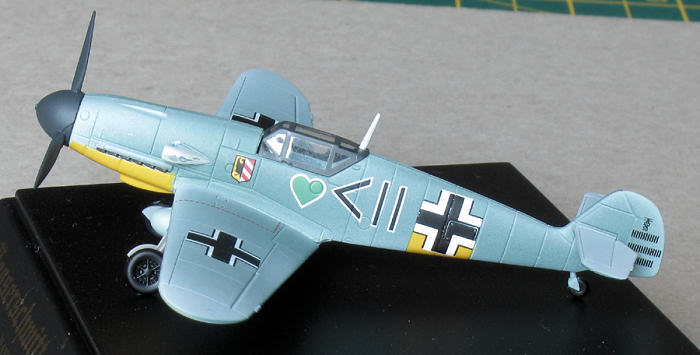
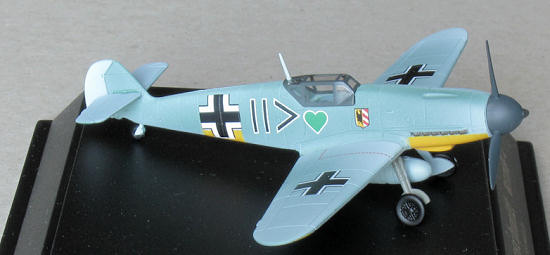
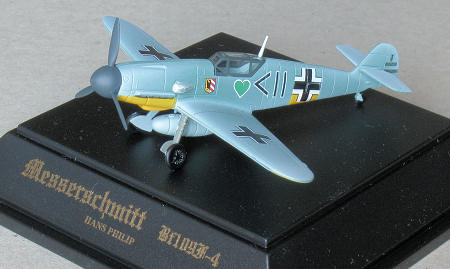
with the same catalog number: in the markings for Hans Philip (sort of blue-grey
colour), for Hans Joachim Marseille (desert brown) and for Werner Molders
(grey-green splinter camouflage). The box end has a picture of the kit inside,
so if you are alert you can rummage through the stock on the shelf and get one
of each. I spoke to my local model shop man and he said that he just gets a
mixture of the variants in a box from his wholesaler, so he cannot order in a
specific model.
| THE KIT |
 The
kit comes in an end-opening box, there are two sprues in a bag, the canopy is
inside its own little plastic bag, there is also a plastic display base, almost
the full size of the box, also bagged. The paint is airbrushed on: overspray is
visible on the sprues. The decals are very neatly applied they almost look
painted on.
The
minimal instructions on the back of the box refer to glueing the parts together,
making no mention of scraping away paint from joins.
| CONSTRUCTION |
I did not simulate the “tear and bash” building style I would have used at age
8, which is the target audience as per the symbols on the box. I trimmed each
part carefully from the sprue and checked the fit of parts before glueing. I was
pleased to find that most of the construction was “snap-tite”. The propeller was
a tight pu sh
fit, but did not pop the fuselage half joins, there is no collar provided to
allow the propeller to spin. The only glue I needed to apply was to secure the
stabilisers and the air intake. Ordinary plastic glue, with no need to scrape
away the paint seemed to work ok. I used a small dot of pva glue to secure the
canopy, rather than risk fogging it.
The box
comments that the drop tank is optional, it also shows two air-intakes with no
comment. I take it that the longer intake is only used for the desert version.
There
were some areas where careful trimming was required to get a good fit: the
joining surfaces for the upper and lower wing halves need to be smoothed. The
undercarriage leg locating pins need to be trimmed down to fit, a slight
tapering cut is required to get a good fit. I am not sure that a young child
would have the skills to get this right, which could result in a bit of
frustration, on the other hand if you leave the undercarriage off you have a
flying model....
Unfortunately I don’t have access to a tame 8 year old to road test these kits
properly.
| COLORS & MARKINGS |
 -
not applicable – you just admire the completed kit.
I have
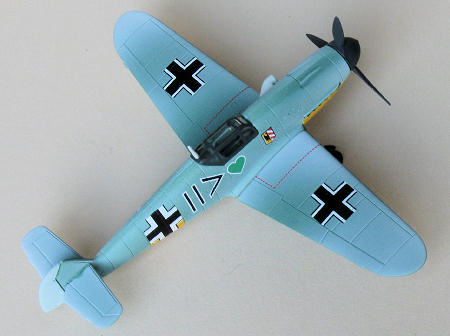
no idea if these markings are “correct”. They look pretty enough, but the rather
misty blue uppersurfaces strike me as being implausible.
You
could touch up some places where the paint was removed in trimming the parts.
The air-intake does have plastic showing through on the outside, however I left
it as is.
| CONCLUSIONS |
I liked
this kit and I will keep my eye open for others in the series (Spitfire V,
P-51D, P-47D, A6M5 Zero, Fw-190A, I have noticed that they can be found at
airshows, some internet model shops list them, but you would not know what
markings you were going to get if you order in that way.
I have some reservations about their suitability for small children because they seem a bit dainty and one or two of the parts need a bit of trimming to fit with a sharp knife.
March 2009
If you would like your product reviewed fairly and quickly, please contact me or see other details in the Note to Contributors.