Airfix 1/72 Arado Ar-196A-3
| KIT #: | 2019 |
| PRICE: | $8.99 |
| DECALS: | Two Options |
| REVIEWER: | Greg Ewald |
| NOTES: | Simple kit |

| HISTORY |
Considered to be one of the most successful floatplane designs of the mid 1940’s, the Arado 196 was used by the German war machine on just about every theater of war (well, where there was water). The radial engine design beat out the competitors on every level, though it did have some issues with engine starting after being shipboard for too long.
The design was capable of carrying small bombs or charges, and had a rear gunner to try to fend off any Allied fighters zooming in. That would take some guts, as well as a lot of luck.
 As far as
the “lurk and look” mission it was designed for, the 196 was impeccable. Good
wing loading and the ability to hover like a kestrel meant that the Arado was
probably the cause of demise for many an Allied shipping convoy merchant, or a
submarine that was unlucky enough to surface under its eyes.
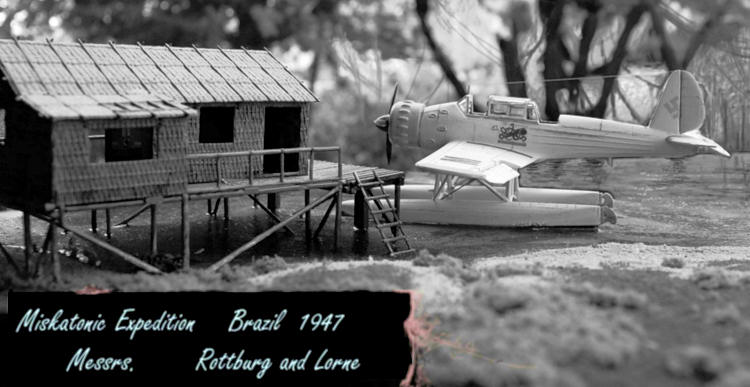
This is a post war “what if” build…as far as I
know, none of the 196’s made it to
Reaching behind him, he pulled out a bottle of the local beer and popped off the top with his Swiss knife. Warm. He grimaced as he remembered the wonderful chilled pilsners he had consumed in the commissary of the Tirpitzufer, and wondered what had brought him around the world to this place, under the “guidance” of the American university. Dr. Lorne Rottburg snorted, and took another heavy sip of the foam, and remembered exactly why…he would have been hanging on the end of a Russian gibbet had not the scientific team from the United States managed to get him out of Berlin, and onto a cargo vessel headed for the new world. He had to travel by boat, as his fear of heights precluded any possibility of aeronautical transport, the brave doctor’s knees would shake on even a short ladder.
 The others on the team from Miskatonic had flown in by
air, aboard a refurbished Catalina, and were probably even now studying the
artifacts, and relaxing in air conditioned
nissen huts, and drinking godamned cold beer. Perhaps
next time, he would take a pill, maybe that would be enough.
“Lieber Gott!” The words were expressed harshly, and his
once sleep tired eyes sharpened quickly to take in the shape of a German
floatplane, newly painted, but showing signs of age.
He knew
of no expeditions to this place from his homeland, and
even so, this aircraft was not capable of making that long of a voyage. It had
to have been brought here. But why?
| THE KIT |
 This is another typical Airfix offering, requiring the
amounts of putty and patience needed to make the model look decent.
The neat thing is, the floats are wonderful, and really
make this plane stick out from the other small scale kits available to the
builder.
The styrene is of a good grade, easy to sand, easy to fill (thank the heavens above) and is molded very, very, very cleanly. I found absolutely zero sinkholes throughout the whole build!
You will have to use a mix of C/A and slow setting glue for this one, some bits have to be fitted into place and left to dry, others will need a quick fit.
It scales out very closely to the schematics
available, and certainly has that bottom heavy droop common to the 196, without
any weight in the nose. If you do want to weight it down, the massive cowling
has plenty of room for lead.
A really neat aftermarket item would be a lead engine,
but I couldn’t find any. Hmmm…?
| CONSTRUCTION |
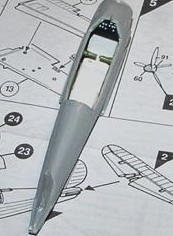 The
one page, fold out instructions are typical for a small scale kit of this
caliber, starting off with the cockpits.
They were too simplistic for me, so I added in some new
seat detail made with sheet styrene and a little bit of masking tape.
The
one page, fold out instructions are typical for a small scale kit of this
caliber, starting off with the cockpits.
They were too simplistic for me, so I added in some new
seat detail made with sheet styrene and a little bit of masking tape.
I did not install the rear gunner’s seat until the
fuselage was already assembled, trying to align everything at once would have
been a logistical nightmare. The floats go together easily, and fit well, though
the carriage for them does not at all. A lot of test fitting and sanding is
required to get the supports into the fuselag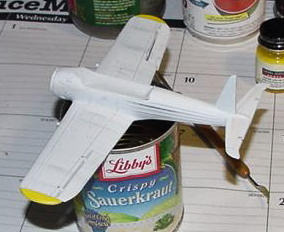 e
bottom correctly, as well as a hefty dose of PSR.
This is a typical Airfix kit, and does need to have the seams and leading edges of the wings filled in lightly, and sanded down to eliminate any lines. Unusually, the surface detail is actually quite well done, and in scale, quite believable, so use a high grit paper.
Even more amazing, the clear parts are well formed,
and not too thick. He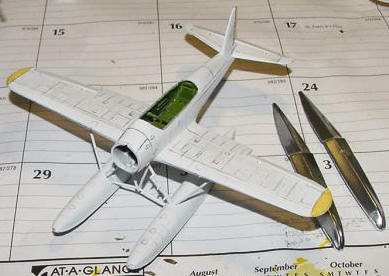 ck,
they even fit into the area where they belong!
I know, don’t panic.
The control surfaces are separate from the wings and tail, so you can place them how you want, and yes, I did place them down for a reason (cut control cables). The rudder was manually separated via the intervention of a razor saw. Yes, I did cut myself too.
One of the best features is the brilliant engineering of the floats, they are separated at the waterline! I painted the whole craft , then glued on the aluminium bottom half of the floats with CA, using laundry clasps to hold them tight. My wife will probably complain when she has metal finish on her undies.
| DIORAMA |
The
dio came from a story I was working on, based upon a H.P. Lovecraft universe.
In this case, a wayward university came across a rotting
plane in the jungles of
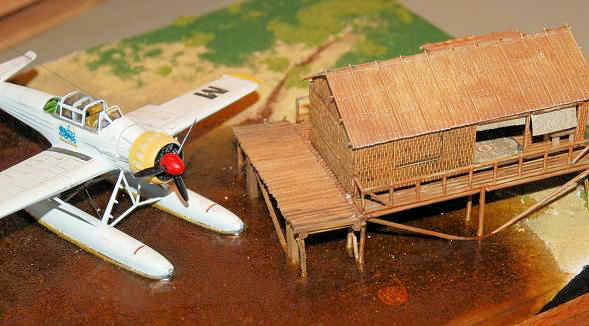
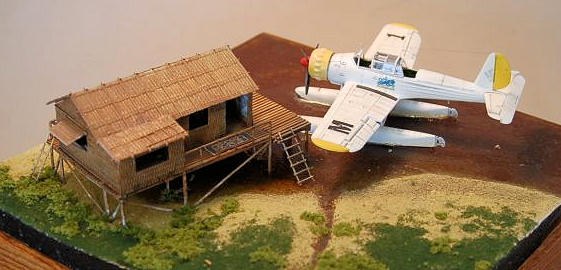
I made the base out of cement, and after it was cured, I stuck on the gravel mixture by using a light coat of white glue.
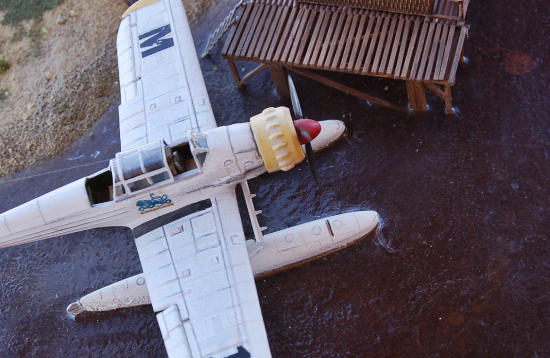 The
freshwater stingray was made out of Sculpey clay, painted and glued in place
underneath the “jungle hut”, which had a scratchbuilt
dock attached to it.
The hut itself is another Airfix offering which lends
itself to dioramas, I made some miniature furniture for the inside, and printed
out maps of the jungle and some motivational posters for the walls.
The
freshwater stingray was made out of Sculpey clay, painted and glued in place
underneath the “jungle hut”, which had a scratchbuilt
dock attached to it.
The hut itself is another Airfix offering which lends
itself to dioramas, I made some miniature furniture for the inside, and printed
out maps of the jungle and some motivational posters for the walls.
The water was a disaster that turned out well: I used a hot setting resin like a fool, one pour tinted green and brown about 1/4th thick over the base and my stingray and left to set up for a day. The plane was put into position, and the second pour was laid on…but I mixed the stuff too hot, and began to panic as I watched the paint begin to melt off of the floats. Time for a stiff drink and thinking about having to rebuild the entire d’ thing…but after two hours, holy cow ! It came out wonderfully ! Just the breeze from outside (you do not pour this stuff inside) made for some cool water ripples, and the plane did not sink into oblivion, I guess it is just one of those mistakes that work out.
Like garlic chicken stir fry.
| COLORS & MARKINGS |
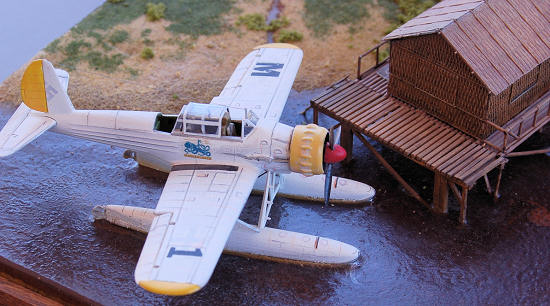
 The plane was painted in standard camouflage, then over washed
with white. Yeah, it is time consuming, but it gives you the best reveal. I used
dry transfers for the civilian markings to denote a Miskatonic Study Airplane,
as described in the story.
I find myself using dry transfers more and more often
(thanks Tank!) , not having to bother with setting solutions and wrinkles is
addictive. Chuckle.
| CONCLUSIONS |
| REFEENCES |
http://www.militaryfactory.com/aircraft/detail.asp?aircraft_id=320
http://www.german-navy.de/kriegsmarine/aviation/shipbased/ar196/index.html
Greg Ewald
If you would like your product reviewed fairly and quickly, please contact me or see other details in the Note to Contributors.