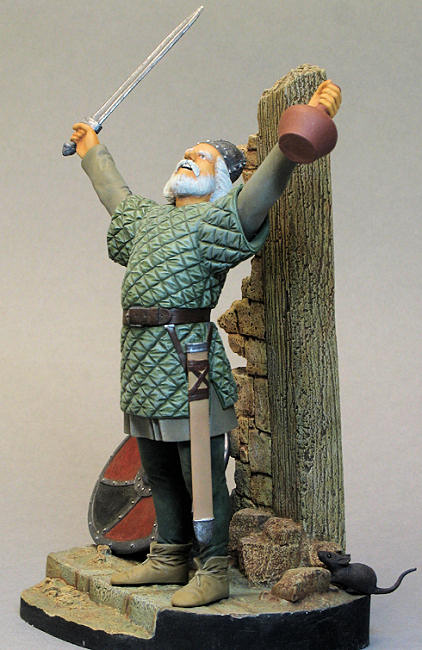
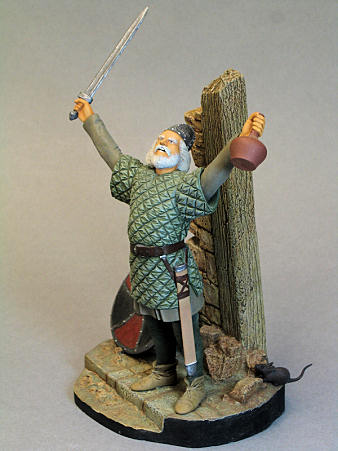
Verlinden Viking Raider - circa 900 AD
| KIT #: | VER 833 |
| PRICE: | About $34.00 |
| DECALS: | None |
| REVIEWER: | Steve Budd |
| NOTES: | Resin |

| HISTORY |
I doubt there are many folks in the Northern hemisphere who haven’t heard of the Vikings. Rather than rehash the plentiful information which is available on the Internet about these fascinating people, please see the following link for the historical and cultural taster contained within Wikipedia: http://en.wikipedia.org/wiki/Viking (while the popular view of the Vikings largely remains that of a people devoted to rape, pillage and conquest violence it seems that they were sophisticated and technologically advanced for the time).
| THE KIT |
The
box contains a quantity of resin parts which comprise the figure, together with
sectional pieces of moulded plaster
that make up the
base. Rounding out the presentation is
a short section of fine chain which is designed to enable the builder to hang a
resin amulet around the neck of the figure (I
succeeded in misplacing mine and so it does not figure in the final build).
| CONSTRUCTION |
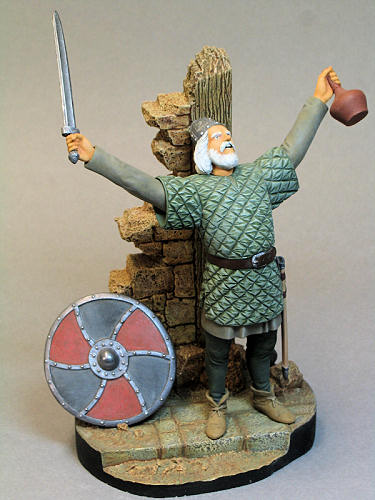 Bearing
in mind that the figure is made of resin
it is essential to follow sensible health and safety precautions when removing
casting stubs from the various parts.
I wore a dust mask
and razor sawed the
plugs outside in the garden on a
dry day. Any final sanding
was carried out wet using course wet and dry emery paper to adjust to fit
between parts until ready for final assembly.
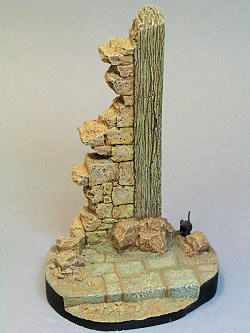 Assembly
is nonetheless extremely simple and while some people will be tempted to use two
part epoxy, I took
Verlinden’s advice and joined the parts
using a medium thick
plaster
mix.
The
plaster ‘glue’ was simple household domestic
wall
filler. The
surfaces of the parts to be joined are
‘painted’ with the plaster and brought together.
The
excess will naturally ooze from the joint and this is perfect for ensuring the
easy elimination of any visible joint.
I removed the
overspill using a quarter inch flat chisel brush that was rinsed off in a jar of
water after each application. Any moulding defects like air holes, were filled
with a thinner mix of the plaster ‘glue’.
| COLORS & MARKINGS |
Leave the airbrush tucked away for this one – it’s good old fashioned brush painting all the way. I acquired Verlinden’s “The System” Volume One: Figure Painting at the same time that I picked up the figure. It really is essential reading and helpfully contains illustrations and text relating to finishing the jacket. The only drawback is Verlinden’s habit of referring to all colour call outs in terms of Humbrol paint numbers only – follow this link for an Internet summary chart here: http://www.ipmsstockholm.org/colorcharts/stuff_eng_colorcharts_humbrol.htm
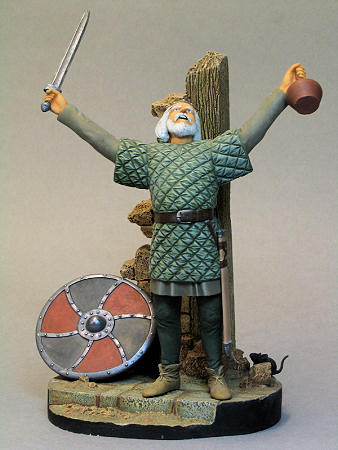 lightening
the base
green until a suitable contrast with the
recesses is reached.
| CONCLUSIONS |
Not counting my great alien, this was my first figure project and the first time that I had tried painting skin areas since I was a child modeller. Having given it a go it has only increased my admiration for those like Verlinden and Bob Letterman who have obviously mastered the medium.
| REFERENCES |
The internet and “The System” Volume One: Figure Painting by Francois Verlinden and Bob Letterman.
Editor's Note: For those who wish to learn more about Vikings in general, I can highly recommend the Osprey book The Vikings: Voyagers of Discovery and Plunder. It should still be generally available.
April 2008
Copyright ModelingMadness.com
If you would like your product reviewed fairly and fairly quickly, please contact the editor or see other details in the Note to Contributors.