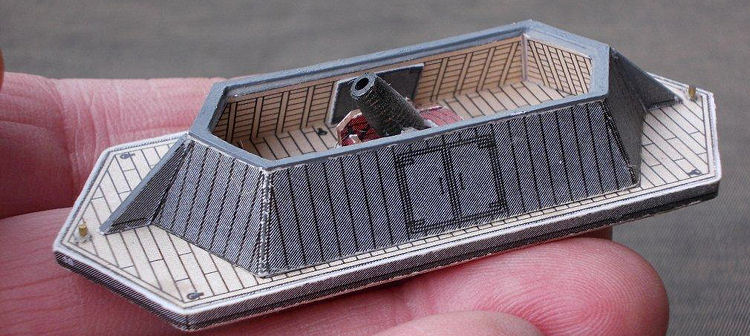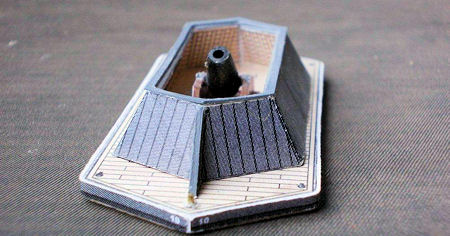
Paper Shipwrights 1/250 #10 Mortar Barge
| KIT #: | ? |
| PRICE: |
Free download |
| DECALS: | None - Prepainted |
| REVIEWER: | George Oh |
| NOTES: |
Card model |

| HISTORY |
platforms, the Federal navy employed mortars on barges that
were anchored close in-shore from their target/s so they could lob bombs over
fortification walls. Naturally,
they attracted some return fire and so required protection for the gun-crews.
This is a model
of the Federal Navy Mortar barge No. 10 that was anchored in the
| THE KIT |
 While seeking a
model (of the HMVS Cerberus – but that is another story) by trolling the
Internet, I discovered the Paper Shipwright website, operated by David Hathaway.
David sells sheets of paper with parts printed (in colour) on them that
can be cut-out with scissors or a knife, and assembled onto a model using paper
glue. Some parts are to be
folded-over to create a thicker, more-robust part, while others are to be rolled
to form tubes (aka masts, gun barrels etc).
But this was a free download, so I grabbed a copy.
I started this kit because this is the sort of modelling I did when I was
a boy, it looked like an easy build of an unusual subject.
| CONSTRUCTION |
The waterlined
model consisted of a hull/deck/platform supported by an internal spine-and-ribs
structure surrounded by a narrow strip - the free-board.
On top of this went a round dais that mounted the short-barrelled mortar,
and the weapon was surrounded by a thick open-topped 6-sided superstructure.
I failed in the
construction of the hull because of the fragility of the ribs and spine, and
because they lacked tabs to attach to the underside of the deck.
So I replaced it with a plate of balsa-wood that was stiffened with a
brass rod (to stop it warping). But
I did use the surrounding narrow strip and deck piece.
The walls of the superstructure were thickened by sandwiching a piece of
cardboard between the kit parts, which made bending the angles difficult.
This was solved by sanding and dry-fitting.
OK – I had to paint the tops of the wall where the cardboard showed
through.
I also
thickened the dais and the small parts for the gun cradle, using thinner
cardboard. The parts were
manageable, but the parts for the trunions and barrel were even smaller.
I found it neigh impossible to roll them into tubes, let alone to join
them. Quickly, I surrendered and
turned one from a length of thick styrene chucked into my power-drill.
OK – I had to paint this. By
drilling a hole through the barrel, I was able to replace the trunions with a
piece of rod – not that I wanted the mortar to be capable of elevating or
anything.
And that was
it. There was no masking or
decaling, and only a little self-inflicted painting was required.
| CONCLUSIONS |
 This is a great
little model – cost was nothing and it was only a little challenging.
It was a little difficult because of the small size and complexity of
some of the parts that I chose to replace.
For those 350-scale fanatics, or 700-scale phreaks, you can always
photo-reduce the original sheet (good luck with the building).
But it is unusual, and I’m happy to recommend it, and others of David’s
products (especially his lighthouses).
| REFERENCES |
October 2012
If you would like your product reviewed fairly and fairly quickly, please contact the editor or see other details in the Note to Contributors.