Kit: P-36
Scale: 1/48
Kit Number:1557 (?)
Manufacturer:Hobbycraft
Price: $13.98
Media: Injected Plastic
Decals : Two schemes, both French AF, WWII
Accuracy: looks great
Overall: see review

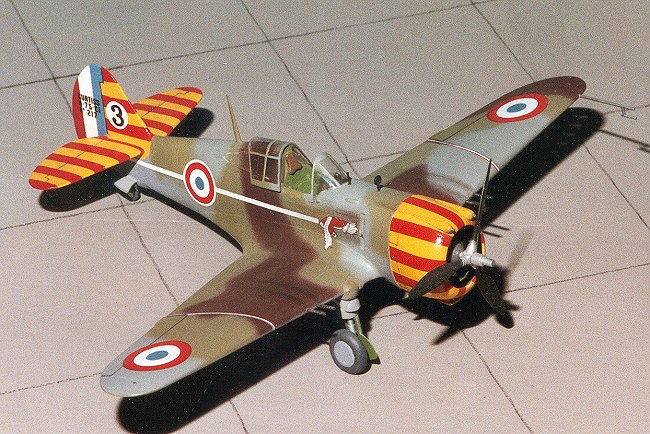
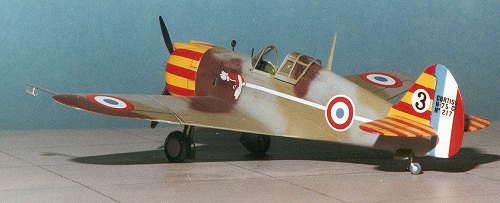
Comments: For years I have had an AMT P-36 and a Microscale sheet for a Vichy French aircraft complete with the red and yellow striped cowling and tail. But the AMT kit was not really that great a kit so I never got around to building it. When Hobbycraft brought out the series of 4 P-36s, I knew it was time to use my decal sheet. The version I first saw was the French Hawk 75A-3 kit with four wing and two nose guns, so I grabbed a copy and put it on the 'to do' shelf.
When I finally got around to building it, I was very surprised. The only other Hobbycraft kit I had built before that was their CF-100 Mk 5 Canuck with its problematic fit, sparse interior, and incredibly terrible decals. The P-36 has a great interior with nice sidewall detail, rudder pedals, seat, control stick and flap handle. It was a natural for Reheat decals and this was the first kit on which I used them. I was hooked. The fit is good with putty only used in any quantity on the wing/fuselage joint. The clear bits were attached with epoxy, but I fear I used a bit too much and got some smear inside the rear quarter windows, a problem on these Curtiss fighter kits. It is nice that I could display the interior and the sliding canopy fit well and looks right.
 I painted the tail assembly and cowling white in preparation for the yellow
and red stripes. I then painted the red and blue of the rudder tricolor
and masked that off when fully dry. Next came the yellow for the cowling
and the tailplanes. When that was dry, it was masked off and the rest
of the plane painted in a random pattern of green, brown and light
grey mixed to match the box art. The underside was painted primer grey
as it seemed to match pretty well. Since the red stripes were part
of the decal sheet, the aircraft was airbrushed with Future floor wax as I
do all my matt-colored kits prior to applying decals. This provides
a gloss surface and nearly eliminated air bubbles and silvering. Although
not designed for the Hobbycraft kit, the Microscale decals fit very well
and reacted well in spite of their 20 plus year age. Once decals had
dried and set, excess setting solution was cleaned off with warm water, the
aircraft blow dried and then the matt coat was applied. Pastel stains
were again added and, since this was before True Details, the wheels flattened
by sitting the model on a hot-plate. I must warn you that this takes
practice, since it is all too easy to have the result be a horrid mess.
With this kit, I started to build more Hobbycraft kits, and am glad that I did as they have gotten better and better with time. Highly recommended.