|
KIT: |
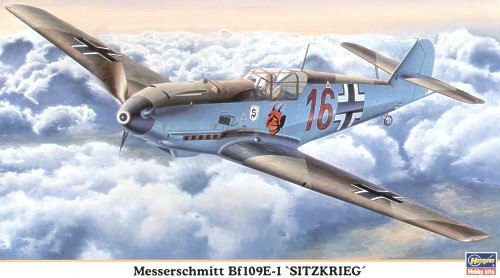
Hasegawa 1/48 Bf-109E-1 'Sitzkrieg' |
|
KIT # |
09482 |
|
PRICE: |
£16.00 at Military Precision |
|
DECALS: |
Two options |
|
REVIEWER: |
Scott Van Aken |
|
NOTES: |
includes resin bits to backdate to an E-1 |

|
HISTORY |
It wasn't until the Bf-109E-4 went into production that Messerschmitt settled on cannon armament for the wings. At that time, combat experience had shown that a more robust canopy and armor plating might not be a bad idea and so was made standard. Some of that was retrofitted to the earlier E-1 and E-3 airframes. Several E-1s were also modified for fighter-bomber roles and outfitted with a bomb rack. These early 109Es were NOT plumbed for a drop tank. By the time the F models entered service, most of the early E-1/3 planes had either been sold overseas, sent to training squadrons, or used in areas where there wasn't much Allied air activity.
For those of you who may be wondering what the 'Sitzkrieg' is, that is the period of time after the fall of Poland and before the invasion of the low countries and France. There was little actual activity on either side and the Allies were basically sitting around waiting for Hitler to do something. They didn't have to wait that long.
|
THE KIT |

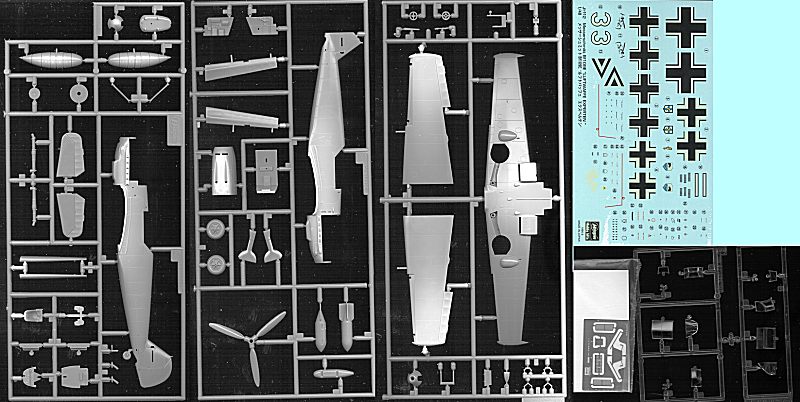
I've taken the liberty of using the parts layout from another Hasegawa 109E kit. Other than the decals, there is no difference in the plastic between the two kits. The same fine engraved panel lines, the same rather well detailed interior, same etched metal bits.
 The
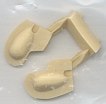
only thing that is different is the inclusion of a resin plug for the
under wing cannon bulges. You see, since the E-1 didn't have these
bulges, they need to be removed. However, if you just sand them down,
you'll have a huge hole in the lower wing. Hasegawa figures that most
modelers must be too dumb to simply fill the bulges with superglue and
sand this area, so they have included these resin plugs. Of course, you
still have to attach them with superglue and then sand them down smooth,
but at least you don't have to wait for several layers of superglue to
dry.
You also have to cut off the cannon barrels and drill out holes for the wing machine guns. The only thing that Hasegawa did not point out is that when the lower wing bulge is removed, there is a square access plate in its place. Not a very big concern for most of us but those who want everything to be perfect will have to add it.
 The instructions are for the 'Emil 3' boxing. An
addendum sheet basically replaces step 3 where the wings are glued
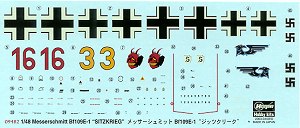
together. Markings are provided for two aircraft. I'm not sure if these
are the newer, good decals or the older ones that don't like setting
solutions so you may want to test one of the ones you won't use to see.
Both aircraft are in the RLM 71/02/65 scheme with no mottling, a very
fetching scheme and one that I like. E-1s were also in the older 70/71/65
scheme. The box art plane, Red 16, is from 2./JG 26 in March of 1940. It
carries a red spinner as its only additional color. Yellow 3, from 6./JG
52 at the same time also has a red spinner, but with the very tip of it
in RLM 04 yellow. For those not wanting to use kit decals, there are a
rather large number of aftermarket decals for the E-1 version to choose
from.
|
CONCLUSIONS |
For many, the Hasegawa kit is the better of the two top-line 109Es available. The Tamiya kit's detailing seems a bit 'heavy' to some, despite the Tamiya kits easier build and separate flaps. This one has a load of aftermarket available for it if you want to go whole hog and the final result will be a very nice model that you'll be pleased to display and show to friends.
If you would like your product reviewed fairly and quickly by a site that has nearly 250,000 visitors a month, please contact me or see other details in the Note to Contributors.