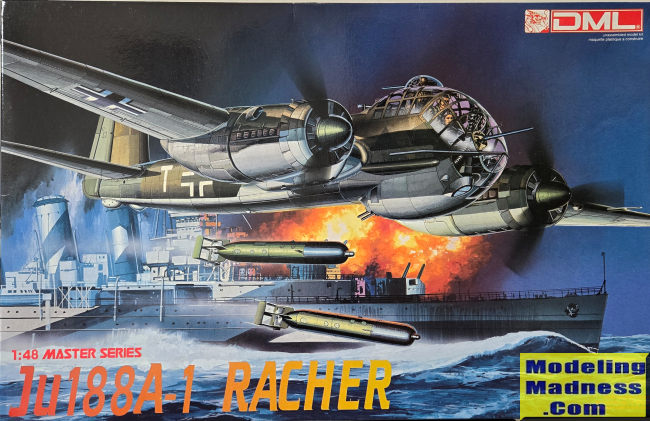
DML 1/48 Ju-188A-1 "Racher"
| KIT #: | 5517 |
| PRICE: | $ |
| DECALS: | Two options |
| REVIEWER: | Scott Van Aken |
| NOTES: | 1994 release. Includes p.e. |

| HISTORY |
| THE KIT |
 In
the early/mid 1990s, DML (now Dragon) released a fairly large number of aircraft
kits. Among them was a series of Ju-88/188s. A logical choice as, through
inserts and update sprues, the entire family could be kitted with just minor
changes/additions. These were quite popular at the time and though they required
careful construction, resulted in a very nice model.
Among their offerings were two Ju-188s. One was the Ju-188A with Jumo inline engines and the other was the Ju-188E with BMW radials. Since there were considerably more Ju-188Es manufactured, that was the more popular of the two. This kit is the Jumo powered variant. Other than engines, both kits are the same.
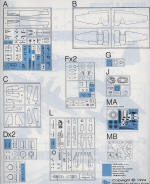
As you'd expect, the cockpit section is separate from the rest of the fuselage and thanks to the large glass area, DML went with a fairly well detailed interior that included separate side panels. This cockpit assembly fit onto the fuselage once the two halves were assembled. To incorporate different fins, a short spar allows for the separate fin and rudder assembly to slot in place. Same goes for the tailplanes. At the time, the tail gear can be installed and oddly, the instructions want you to put weight aft of this.
Next the engine assemblies are built up. These include flame dampers, though straight exhaust are also on the sprues. Props have separate blades and fit into the forward portion of the engine section. Main landing gear needs to be built and installed in the lower wing half prior to wing assembly. There is a separate aileron and a separate wing tip. The attachment of this latter item is one of the bones of contention regarding this kit and many will attach the tip halves to each wing half prior to gluing the wings together. All the aileron hinges are separate. During this time, DML wants you to attach the engines.
Though only one of the two markings options are torpedo planes, at this time the torpedoes are built and attached to their pylons. These are then glued to the lower wing. It is only then that the wings are attached. Personally, I'd leave off the torpedoes until after painting. THe next several steps are attaching a myriad of small items along with the large underfuselage section. It is only after all this is attached that the clear bits are dealt with. Most modelers will probably attach the clear bits prior to painting. A masking set is recommended as there are a lot of small panes.
 Instructions
are generally well done though a bit vague at times. Color info is with Gunze
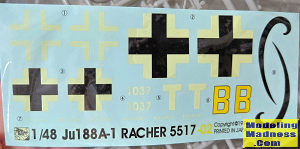
paints and offers no RLM numbers. The two markings options are a 188 A-3 from
1943 in what appears to be RLM 70/71/65, the standard land bomber scheme. The
other is a 188 A-1 in overall RLM 71. Markings are fairly minimal and while the
decals are nicely printed, the whites are off-white. You'll also need to source
swastikas from elsewhere. There are a number of aftermarket options when it
comes to markings if you don't like those offered. As a note, the Ju-188A-3
is the first variant to carry torpedoes and it generally also had a search
radar, something not included in this kit. The Ju-188A-1 was the straight bomber
version.
| CONCLUSIONS |
A number of years back, I built their Ju-88A-4 and while it was on the fiddly side, turned into a very nice model. With ICM releasing a Ju-88 family (no Ju-188 yet), that one will be the choice of those who want something newer. Still, this one is well worth building. A quick web search shows several being offered in the $70.00 plus range so even this older kit won't be cheap.
| REFERENCES |
https://en.wikipedia.org/wiki/Junkers_Ju_188
September 2024
Copyright ModelingMadness.com. All rights reserved. No reproduction in part or in whole without express permission from the editor.
If you would like your product reviewed fairly and fairly quickly, please contact the editor or see other details in the Note to Contributors.