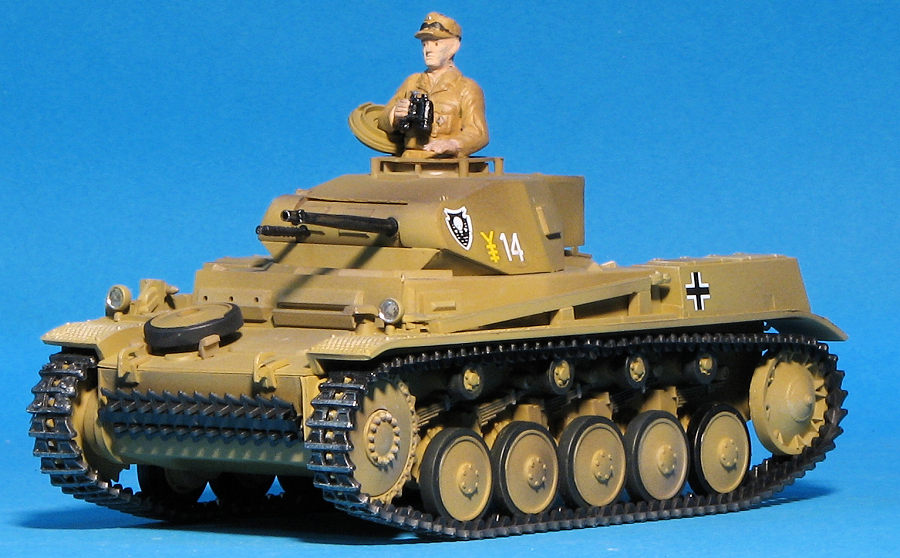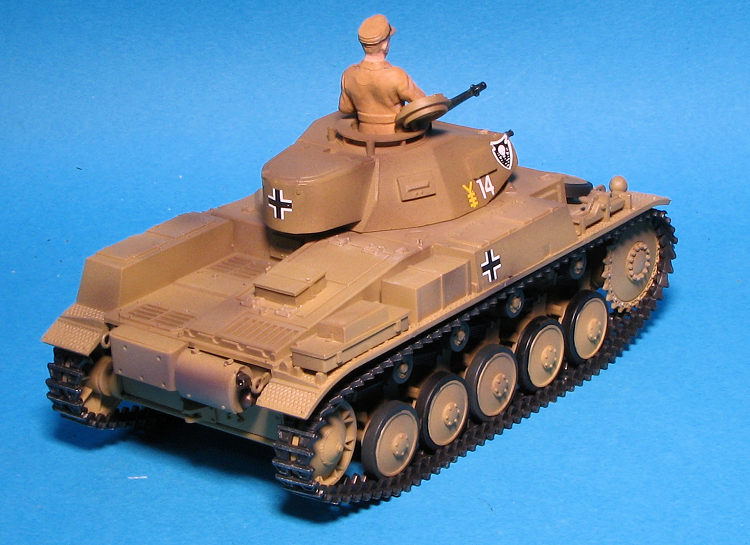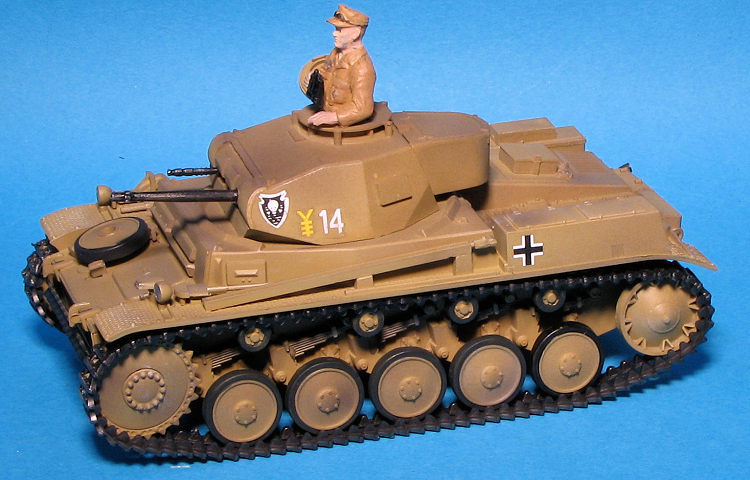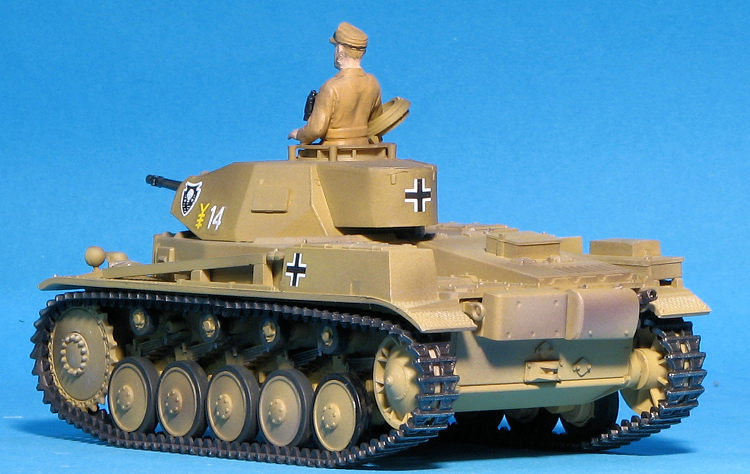
Tamiya 1/35 Panzer II ausf F/G
| KIT #: | 35009 |
| PRICE: | 1200 yen SRP |
| DECALS: | Five options |
| REVIEWER: | Scott Van Aken |
| NOTES: | Upgraded boxing released in 1971 |

| HISTORY |
 Panzer II began on 27 January
1934. The first experimental model was ready in February 1935. The final
design was based on the Panzer I, but larger, and with a turret mounting a
20 mm anti-tank gun. Production began in 1935, but it took another eighteen
months for the first combat-ready tank to be delivered.
Panzer II began on 27 January
1934. The first experimental model was ready in February 1935. The final
design was based on the Panzer I, but larger, and with a turret mounting a
20 mm anti-tank gun. Production began in 1935, but it took another eighteen
months for the first combat-ready tank to be delivered.Continuing the conventional design of the Ausf. C, the Ausf. F superstructure front was made from a single piece of armour plate with a redesigned visor. Also, a dummy visor was placed next to it to confuse enemy gunners. The hull was redesigned with a flat 35 mm (1.4 in) plate on its front, and the armour of the superstructure and turret were built up to 30 mm (1.2 in) on the front with 15 mm (0.59 in) to the sides and rear. There was some minor alteration of the suspension and a new commander's cupola as well. Weight increased to 9.5 tonnes. From March 1941 to December 1942, 524 were built; this was the final major tank version of the Panzer II series. Apparently the G was only done in prototype as the VK 901.
| THE KIT |
Tamiya chose to mold this one in a dark yellow, probably because several of the markings options are in that base color. One can see from the underside holes that this kit was designed from the start to be motorized, though this particular boxing is not. In fact, this one differs from the initial release by including five figures as shown on the box art. I'm glad one is mounted in the tank as the kit is a curbside with no interior detail.
A lot of parts this kit does not have and this is
obvious by the long, vertical, map-like instructions sheet with only five
construction steps. The suspension members are all molded onto the lower hull so
all one really has to do is to a dd the idler, sprocket, return rollers and road
wheels. The back of the hull is separate and one attaches a muffler to that.
The kit's turret is also fairly simplified. There is no gun breech for either the 20mm or its coaxial MG 34. This variant does have a bustle and that is added to the upper turret piece. The gun mantlet is trapped between the upper and lower turret pieces. The commander's hatch can be modeled closed if you do not want to use the commander figure (which is standing so I guess you glue his feet to the inside of the hull.
There are a variety of pioneer tools to add the the upper hull as well as some storage boxes. From the look of it, the upper hull simply snaps into place, which would be logical as one would have to gain access to the batteries for the powered version. Tracks are the usual 'rubber band' type made of vinyl where one melts the tabs on the completed tracks.
This is obviously the version for the US as in addition to the Japanese instructions, a set in English is included. This does not extend to the painting and marking guide so I'm unaware of the units or actual colors on the five markings options. This kit obviously was developed prior to Tamiya having their own paint line as no numbers are provided. Another unusual offering is that there is a sprue parts guide, something modern Tamiya kits rarely offer. It is obvious that my kit is not 40 years old as the decal sheet is nicely done, just hidden in the sealed bags. However, here are the options.
| CONSTRUCTION |
Now I may be doing it wrong, but for me, I build vehicle kits
by first attaching as many items that will be the same color together as
possible. I then paint it along with other bits still on sprues. So I did in
this case as well. First, I began gluing things to the hull. I did not fill any
of the holes on the bottom that are part of the motor and gear attach ment.
This, like many early Tamiya kits, was available motorized. They are now valued
collector items. I did, however, run into a problem. One of the front pieces for
the idler gear was molded such that the gear attachment post would not center.
The only fix for it was to glue the part askew. It isn't pretty, but it did seem
to take care of the issue.
It was also painfully obvious that Tamiya has come a long way since 1971 when this was first released. Parts are a bit clunky in comparison to today's kits and their fit is not as precise. Still, the fit is better than some more modern kits.
Construction actually went fairly smoothly with no real traumas. I prepainted completed assemblies with Tamiya Dark Yellow as well as all the running gear. The road wheels and return rollers got Tamiya rubber black around the edges. Note that the tire demarcation line is not present on the back side of either of those items so that whole area was painted with the rubber black.
Building up the turret was pretty easy, though the join areas are not very tight and those who want that area to look better will want to use filler. These same builders will want to fill the holes in the bottom of the hull as well as all the visible parts attachment areas on the underside of the fenders and the gap between the upper hull/fender piece and the lower hull. During all the build up, I also drilled out the exhaust and the gun barrels.
 The
vinyl tracks were first painted with Alclad II steel and then joined by using a
hot match head on them. I did not install the idler right away. The tracks were
first attached to the sprocket then the return rollers and road wheels. Before
hooking them over the end wheels, the idler was installed and this was used to
guide the whole thing in place. I then drybrushed them with aluminum. Looks
convincing enough for me.
There are several figures in with this kit. I am terrible at painting small figures, but felt the kit needed one. I used the commander figure, painting it with Vallejo dark yellow, which is a different shade than the Tamiya. Note that I primed the figure after doing quite a bit of clean-up prior to the Vallejo. There were other bits painted flesh and black and silver. I also used a chrome pen to do the headlights. The overall tank looked too monochrome so I lightly sprayed several very thin coats of Alclad II clear smoke. It seems to have made a difference. The final step was to install the decals. The Tamiya decals were pretty good though the one marking I used was a bit off register. Thanks to my total and complete ignorance when it comes the armor markings, I used what I though looked good.
| CONCLUSIONS |
 Want to build a light tank but don't want the zillion
parts that Dragon and others offer? Well, this is a kit for you. I don't know
how accurate it is, but it certainly looks quite nice when it is done. It took
me a while to build as I'm not all that conversant with 1/35 armor, but unlike
several other projects in this scale, it is one I finished. This is the
sort of kit I can easily recommend to the non-armor builder who wants to try
something outside their usual niche.
| REFERENCES |
https://en.wikipedia.org/wiki/Panzer_II
20 October 2017 Copyright ModelingMadness.com.
All rights reserved If you would like your product reviewed fairly and
fairly quickly, please
contact
the editor
or see other details in the
Note to
Contributors.
Back to the Main Page
Back to the Review
Index Page
Back to the Previews Index Page