MiniArt 1/35 GAZ-30-03 Mod.1938
| KIT #: | 35149 |
| PRICE: | $64.00 SRP |
| MARKINGS: | 12 options |
| REVIEWER: | Scott Van Aken |
| NOTES: | Includes photo etch |

| HISTORY |
| THE KIT |
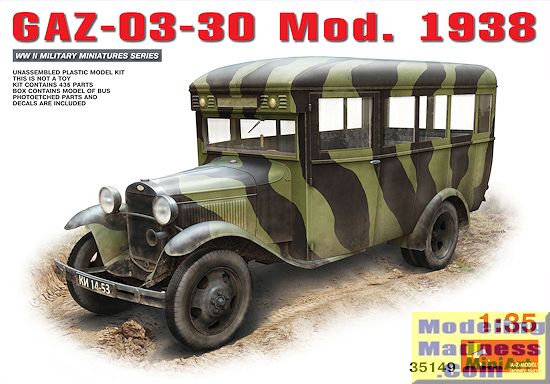
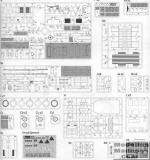
 When opening the box, one finds all 329 of the parts in a single polybag. The bag itself is smaller than the box so I would not be surprised to find parts broken as many of them are quite scale and thin. The bits themselves are quite nicely molded and while there are a few sink areas and ejector pin marks, most will be hidden once the kit is built. A photo etch fret is included and most of the parts are not used. You only use windscreen braces, bonnet handles, radiator emblem and a chassis brace piece.
You get a full four-cylinder flathead engine and a separate transmission. There is a completely detailed frame that one must build up. Some modification of the frame is needed to do the bus version, but nothing major. I found that in some respects, the instructions were not all that clear on the placement of some bits. Detail drawings would be helpful. All the tires are thin sections that are built up to make tire halves. The wheels are then trapped in between these halves. I guess it helps limit seams, but it also means that each tire/wheel combination is eight parts. Counting the spare, there are seven of these assemblies.
One completely builds the chassis with wheels/tires before moving on to the bodywork. Once the front fenders and interior floor are attached, the rear bed is installed. These need holes drilled out for the seats. Each of the eight seats has a separate seat, back and frame on each side. Typical of bus seats, the seat frame to the floor attachment is only on one side. It seems the builder needs to prop up the seats to stand on two legs until the glue dries.
Each of the separate body sides has separate clear windows and each window has a crank to allow it to be lowered. These are then attached to the floor section and one will hope that the seats dried at the proper angle to fit onto a lip on the inside of these walls. All four doors can be posed open if one wishes. The instructions provide details on how to do this as there are different parts that need to be attached depending on the option you choose. The last major body part to be installed is the roof and hopefully you'll have gotten all the alignments right before gluing this in place. In the front, the bonnet can be displayed open or closed.
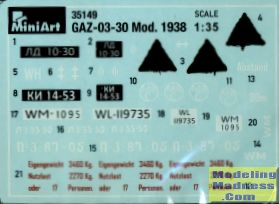
 Instructions are well drawn, though as mentioned, at times they can be a bit vague. There are 12 color options. Some are captured versions used by the German army and air force, others are those impressed into service and some others are in civilian color schemes. All painting information is using MiG colors, and we know these are available everywhere. The small decal sheet is mostly license plates and various military markings. It is nicely printed and should be quite thin.
| CONCLUSIONS |
To me, this seems like a bit of an overcomplicated kit. However, I know what the manufacturers think we want and these guys think we want a ton of detail. To them means a ton of parts, both large and small. If you are one of those who likes a ton of detail and parts, this is very much for you. The end result will be a superb model that you'll be pleased to add to your shelf or show friends. Due to the small pieces, I would not recommend this to beginners, but everyone else should be able to handle things. Work slowly and carefully.
| REFERENCES |
https://en.wikipedia.org/wiki/Ford_Model_AA
September 2015 Thanks towww.dragonmodelsusa.com for the preview kit. Get yours at your favorite retailer. If you would like your product reviewed fairly and fairly quickly, please contact the editor or see other details in the