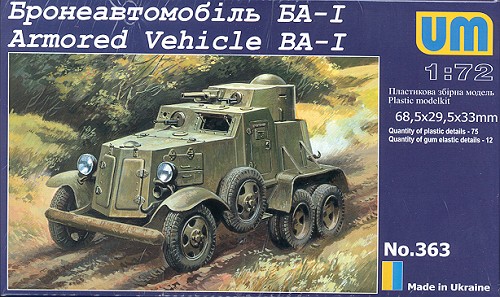
| KIT: | UM 1/72 Armored Vehicle BA-1 |
| KIT #: | 363 |
| PRICE: | $9.98 (8.96 at Squadron) |
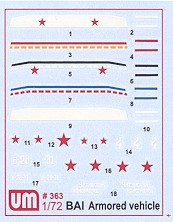
| DECALS: | Three Options |
| REVIEWER: | Scott Van Aken |
| NOTES: |

| HISTORY |
The BA-1 armored car was launched in 1932. It consisted of an armored body on the chassis of the Ford-Timkin automobile. A turret containing a 37mm cannon and 7.62 machine gun was developed. An additional 7.62mm gun was aimed out the armored windscreen. Power came from a 40 hp Ford 4-cylinder engine, allowing this 5 ton machine to reach a maximum speed of 63 kph on smooth roads. Total production of the BA-1 only reached 90 vehicles. It saw service in Spain, Mongolia and Finland.
| THE KIT |
 This
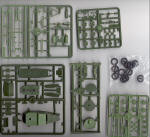
kit is little different from the BA-3 that I reviewed a few days ago. It is
very nicely molded in green plastic and has vinyl tires that simply slip
over the wheels. The detail level is very good for a kit in this scale and
there are no real issues with sink areas, flash or ejector pin marks. I
have found UM's plastic to be quite soft so one really needs to be careful
when cutting on this stuff. It is also rather easy to break if mishandled.
One will also have to do a bit of
cutting and trimming to get a few parts to fit. This is req uired
for the frame and for the headlights as these parts are originally molded
for a GAZ truck. The nice thing about armored cars is no sweat with clear
bits and they are really easy to paint!
Instructions are quite good, providing Humbrol and generic color references. The instructions are a tad busy, but should not provide any problems. Very nice three view drawings are given for decal placement, and I suggest using them during construction as they will help to verify proper parts location for some of the little bits. Though I've not mentioned this in previous UM previews, the decal placement guide just shows where decal '#x' is placed and not how it will look when all are on. I think that this would be a huge help and recommend to UM that they include the markings on the placement guide. It is nice to have a full color painting guide on the back of the box. This shows no markings at all. The decals are fairly well printed with large areas of clear carrier. I have not used any of these so don't know how they will work when applied.
| CONCLUSIONS |
I have been working on a later version of this kit and can tell you that it goes together with minimal fuss as long as you are careful when building it. A large model it is not, but it is also something that one rarely sees and I think that you'll have a lot of fun and fulfillment building it.
October 2005
You can find this kit and many others at

If you would like your product reviewed fairly and quickly by a site that has 300,000 visitors a month, please contact me or see other details in the Note to Contributors.