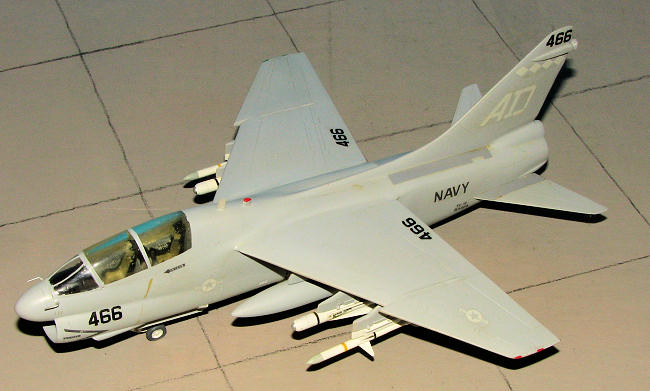
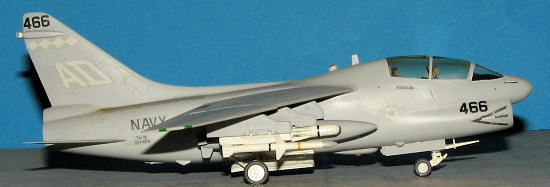
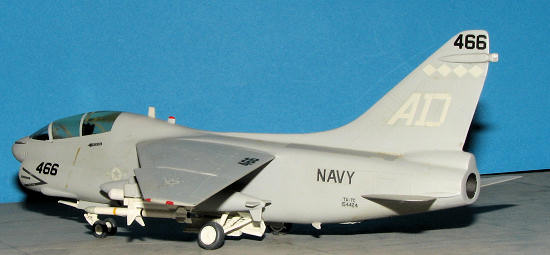
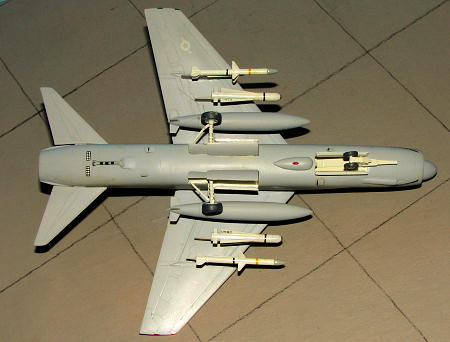
 Kit Number: F 10
Fujimi 1/72 TA-7C
 Kit Number: F 10
Price: $4.00 (in a bag from Squadron)
Media: Injected plastic (conversion in resin)
Decals : Two nice USN versions, but I didn't use them
Overall: see review
Comments: LTV's A-7 Corsair has been called a lot of names, but beautiful isn't one of them. However one might feel about this short little hauler, I have always had a liking for the aircraft. One reason is the great number of camouflage and paint schemes applied to it. In USN service, that tall fin was often decorated with some great unit markings, a trend that died a hard death with the onslaught of lo-viz camouflage. In the USAF, it wore a number of camouflage schemes from SEA to SEA wrap-around, to a Lizard scheme to a two-grey scheme in its final years. The Corsair II is still not dead, flying with a number of other countries, the Thai navy being the newest user.
Fujimi's A-7 kit is a mixture of great detail, a bunch of fiddly little parts
and some poor fitting. I did the normal bit of filling and sanding,
especially the intake and wing undersides. The inclusion of Maintrack
Models TA-7 conversion kit also added to the skill
 required. The resin
part was just a plug to lengthen the fuselage as well as an extra seat and
a large, incredibly thick canopy (back with that later). No decals
although I did buy Maintrack's 'Two-seater' sheet that uses the interesting
'decafix' method.
Back to the kit. I used their template and made the appropriate cuts. I then used epoxy to install the plug and therein lies the big problem I had. No matter what I did, I could not get a smooth finish around the plug. The epoxy was flexible enough to cause continually cracking of any putty that I used. Frustration set in and with the fuselage relatively complete and a number of subassemblies done, the kit was regulated to the long-term storage box where it sat for three years untouched.
 Since I pride myself on eventually completing every kit I start, I blew off
the accumulated dust and returned to the fray. I overcame the problem
of the epoxy by giving the entire area a thin coat of superglue. I
then completed the interior and attached the thick, yellow canopy.
The canopy is more than just the canopy, it is also the fuselage around
the canopy, both on the sides and behind it. There are no lines demarking
where the canopy leaves off and the fuselage begins. The only way to
tell is to mask a line from the windscreen (stock Fujimi) on back and have
good references. I then had to polish the crap out of the canopy and
it became less yellow and more transparent. I then added the other
resin parts such as the braking chute and filled in the open areas around
the tailpipe with plastic card. With the fuselage complete, the rest
of the kit builds in the normal way. I finished it in low-viz greys
and chose VA-174 for the unit marks.
Maintrack's decafix decals are
strange. First one cuts out the decal fr om the sheet, keeping the backing
papers (fore and aft) intact. Then one removes the paper from
the side to attach to the model which results in a slightly sticky decal.
Once it is in its final place, a drop of water is placed on the outer
backing paper. This seals the decal in place and if it is wrong, too
bad as it can't be moved without destroying the decal. An interesting
system, but one I am not very fond of, preferring to be able to move the decals
about in case I screw up. Setting solutions have no effect on the decals.
Considering the time it took to build it, it turned out OK. It is definitely a conversation piece and I am often asked where the kit can be purchased. Would I do another conversion? Sure, but I think I'd rather do the Falcon vacuformed one as it alleviates the need to put in a plug and has a nice, clear canopy! I have also read that this conversion is now (1997) available in limited numbers in injected plastic. Also, Hobby Boss recently did this aircraft in injected plastic (2009). This conversion is recommended for those who have experience doing resin conversions.